I even installed Chrome OS on my PC to tackle the issue, which has an in-built Play Store but faced the same problem. On a side note, I must say that Games run way smoother on Chrome OS than they would on the phone. Later, I realized that I was doing it wrong and finally discovered how to get PUBG up and running on my Windows PC using BlueStacks.
Run BGMI & PUBG Mobile on Windows PC
To accomplish this task, you need to make a few changes to your Windows PC, including rebooting the PC and the BlueStacks emulator. Read on further to know about it all.
Disable Windows Hyper-V for PUBG Mobile/BGMI
Hyper V is a virtualization software mainly used for running virtual machines. Microsoft has pre-included it in all Windows versions except home editions. So, if you are using Windows 10 or Windows 11 home editions, you can skip this part and straightway go to the BlueStacks installation. Now, you must be wondering why there is a need to disable Hyper-V feature? Well, BlueStacks is an Android emulator software and can run multiple instances of Android at once. It offers to create both 32-bit and 64-bit instances. As per BlueStacks, PUBG Mobile & BGMI runs smoother and lag-free with a 32-bit instance of the emulator. To create Nougat 32-bit instance, you must disable the Hyper-V feature of Windows. Follow the steps given below for disabling Hyper-V and related Windows features.
BlueStacks Emulator Installation
Now that you have disabled the Hyper-V feature, you are ready to install the BlueStacks emulator and create a 32-bit instance within. Steps to install BlueStacks are as follows. Do you know? You can run Android OS on Windows PC. Click to learn how.
Create BlueStacks Nougat 32-Bit Instance
To run PUBG Mobile & BGMI lag-free, we will create a 32-bit instance in BlueStacks. The steps are as follows: Not to be missed: How to Install and Run Android Apps on Windows 11 without using BlueStack
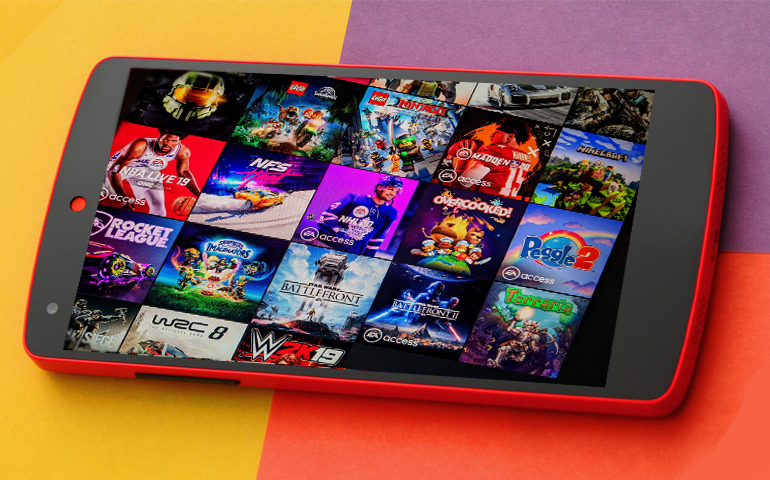
PUBG Mobile/BGMI Installation within BlueStacks
Here comes the most awaited part of this tutorial: the PUBG Mobile/BGMI installation. And if you think it’s as simple as installing a mere apk or downloading the game from the Play Store, then you are wrong. I have seen many people following this method and getting the famous “Error code:restrict-area” message in BlueStacks. Even I had made the same mistake myself. Now, PUBG has a code in its apk for emulator detection. So, whenever you start the game from BlueStacks, it will immediately block you from accessing the game. It won’t allow you to get to the main menu, let alone play the game. So what’s the remedy? Bypassing BlueStacks emulator detection, you think? Well, no. We will not use any hack or script to run PUBG Mobile/BGMI on the PC. There is a simple trick to bypass the “restrict-area” message. Follow the steps below to get this working. Exciting Stuff: 10 Best Spider-Man Games for Android
BlueStacks Game Center Method
Have Fun Playing PUBG Mobile/BGMI on PC with your Friends
There you have it, folks! Now, you can enjoy PUBG Mobile and Battlegrounds Mobile India with your friends on PC. From our observation, when you play PUBG from your Windows PC, you are matched with the PC players only and not with the mobile ones. To make the gaming experience fair for both PC and mobile users, Krafton has implemented such an algorithm. Notify me of follow-up comments by email. Notify me of new posts by email.
Δ